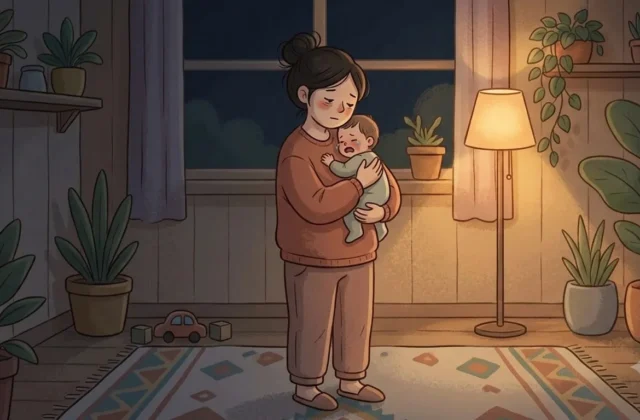



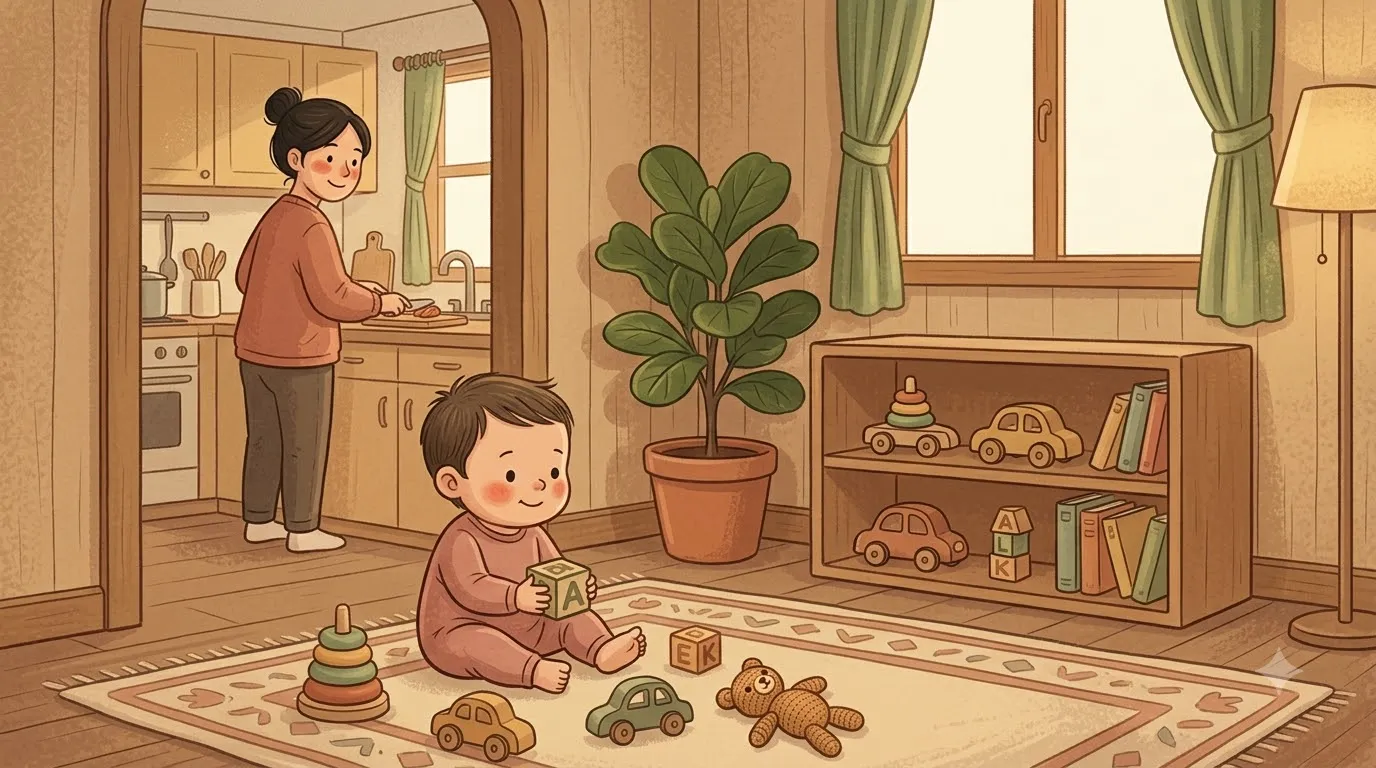
No to the power socket. No to the standing fan. No to the drawer with the scissors in it, twice. No to the pot plant, the laptop charger, the window grille, and whatever had been hiding under the sofa. My daughter wasn’t being difficult. She was sixteen months old and doing exactly what sixteen-month-olds do, which is touch everything within reach to find out what it does.
The problem wasn’t her. It was that in a flat where everything is within reach, “no” becomes the default setting for the whole morning.
That’s the problem a yes space solves.
What Is a Yes Space?
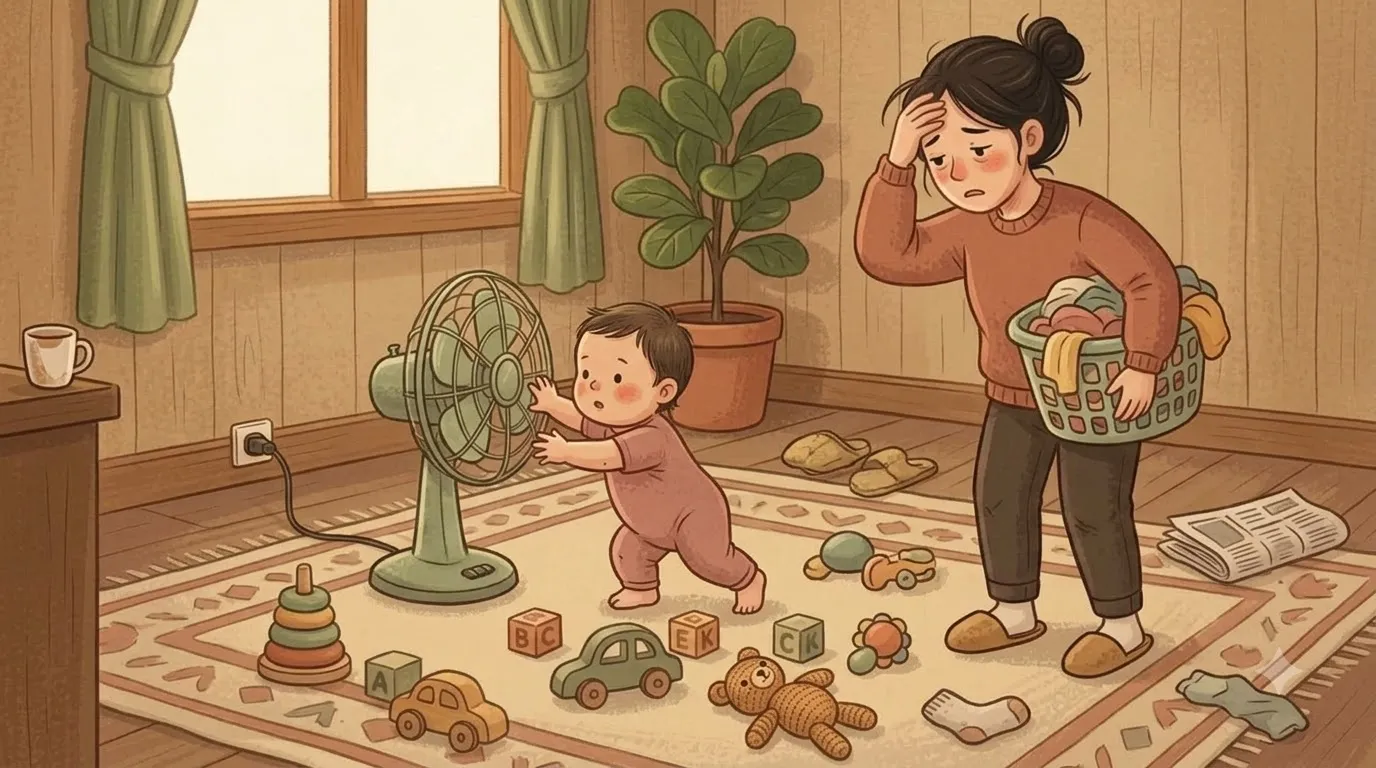
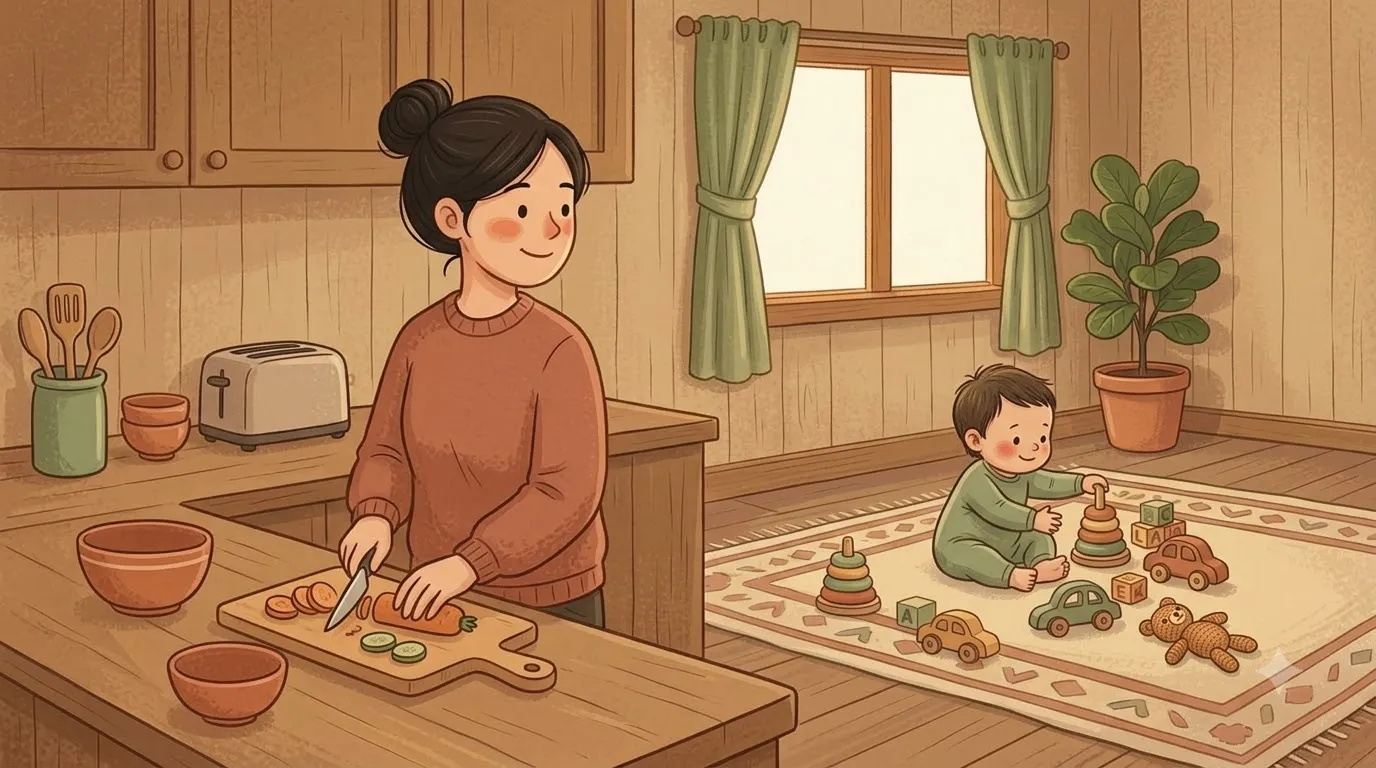
A yes space is an enclosed, fully toddler-proofed area where your child can do absolutely anything they want without you intervening. No redirecting, no removing things from their hands, no “careful.” Everything inside it is something they’re allowed to touch.
The idea comes out of Montessori and RIE approaches, but you don’t need to follow either philosophy to use it. The logic is simple enough on its own: a toddler who hears “no” constantly learns that exploring is something that gets interrupted. A toddler in a space where nothing is off-limits learns that exploring is something they can do on their own.
It’s worth being clear about what separates this from a playpen. A playpen is a small enclosure you put a child in so they can’t get to things. A yes space is a larger area you’ve made safe so they don’t need to be stopped. One restricts the child; the other restricts the hazards. In practice, the difference is obvious to the child — they behave very differently in each.
What you get out of it is threefold: significantly fewer “no”s in a day, a child who starts building genuine independent play, and fifteen minutes to shower or get dinner started without carrying someone on your hip.
Why It Works Especially Well in an HDB Flat
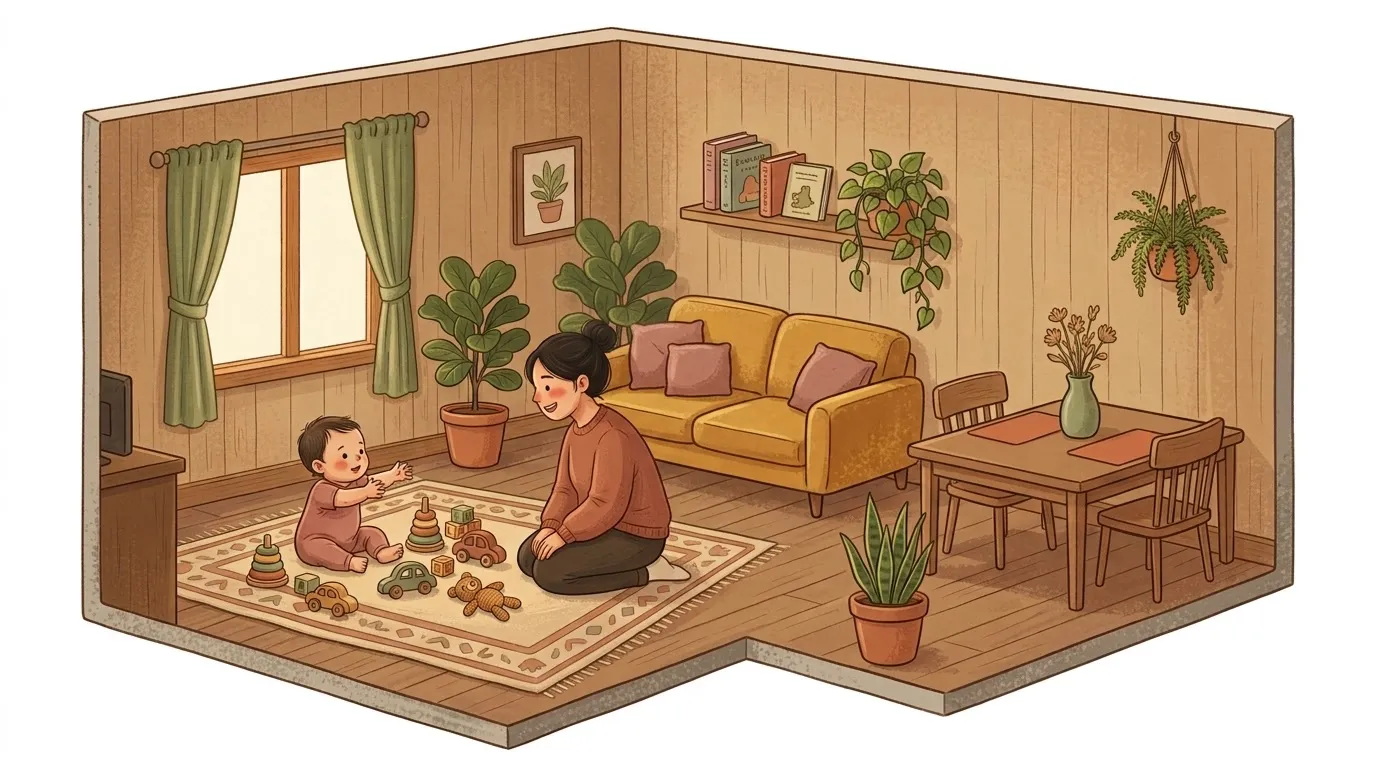
The most common objection is that there isn’t room. Most families here don’t have a spare playroom, and a yes space can sound like something that requires one.
It doesn’t. A corner is enough, and a smaller flat is in some ways easier to work with — you can see the whole space from the kitchen, and there’s less floor area to actually make safe. Most families end up using a corner of the living room, the floor space at the foot of the bed, or a section of the second bedroom.
What does need attention is the set of hazards specific to flats here:
- Hard tiled floors — unforgiving for a child still learning to stand and fall
- Window grilles and low sills — never place a yes space where anything climbable sits near a window
- Standing fans — the base, the cable, and the grille are all a problem at toddler height
- Low power sockets — usually at exactly the wrong height
- Open kitchen entrances — many layouts have no door to close
None of these rule out a yes space. They just determine where you put it.
Step 1: Pick the Spot
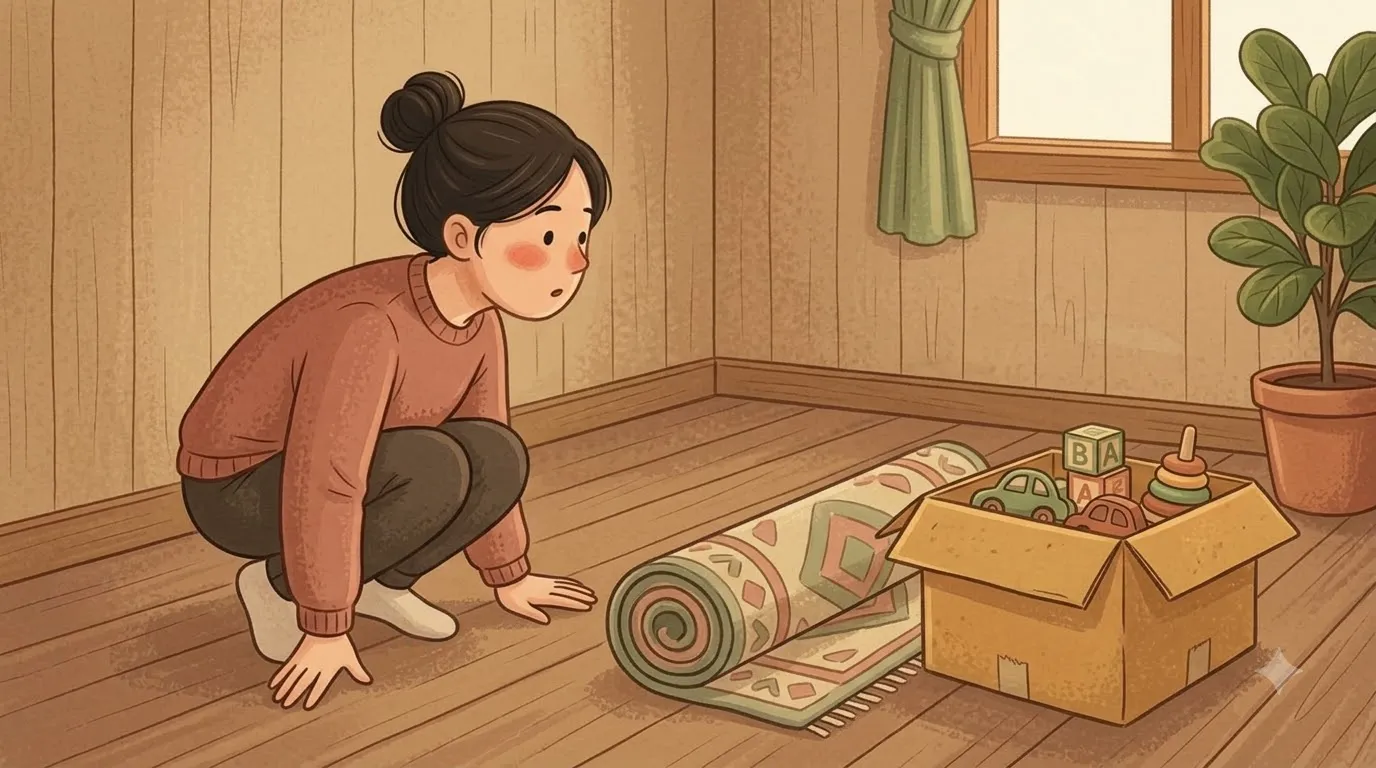
This is the most important step on how to setup a yes space for toddlers. Four things matter when choosing:
Visibility. You should be able to see the whole space from wherever you normally are — usually the kitchen or the dining table. If you have to walk over to check, you’ll keep walking over.
Out of the traffic path. Avoid the route between the door, the kitchen and the bathroom. A child playing in a corridor gets interrupted every few minutes.
Away from windows and the main door. This rules out a lot of otherwise appealing corners, and it should.
Some natural light, if you can manage it. Not essential, but children stay in a space longer when it doesn’t feel like a cupboard.
On size: around 1.5m by 2m is plenty for a toddler. Bigger isn’t better here. A smaller, well-defined space gets used more than a large vague one.
Step 2: Get Down to Their Height, Then Remove Everything
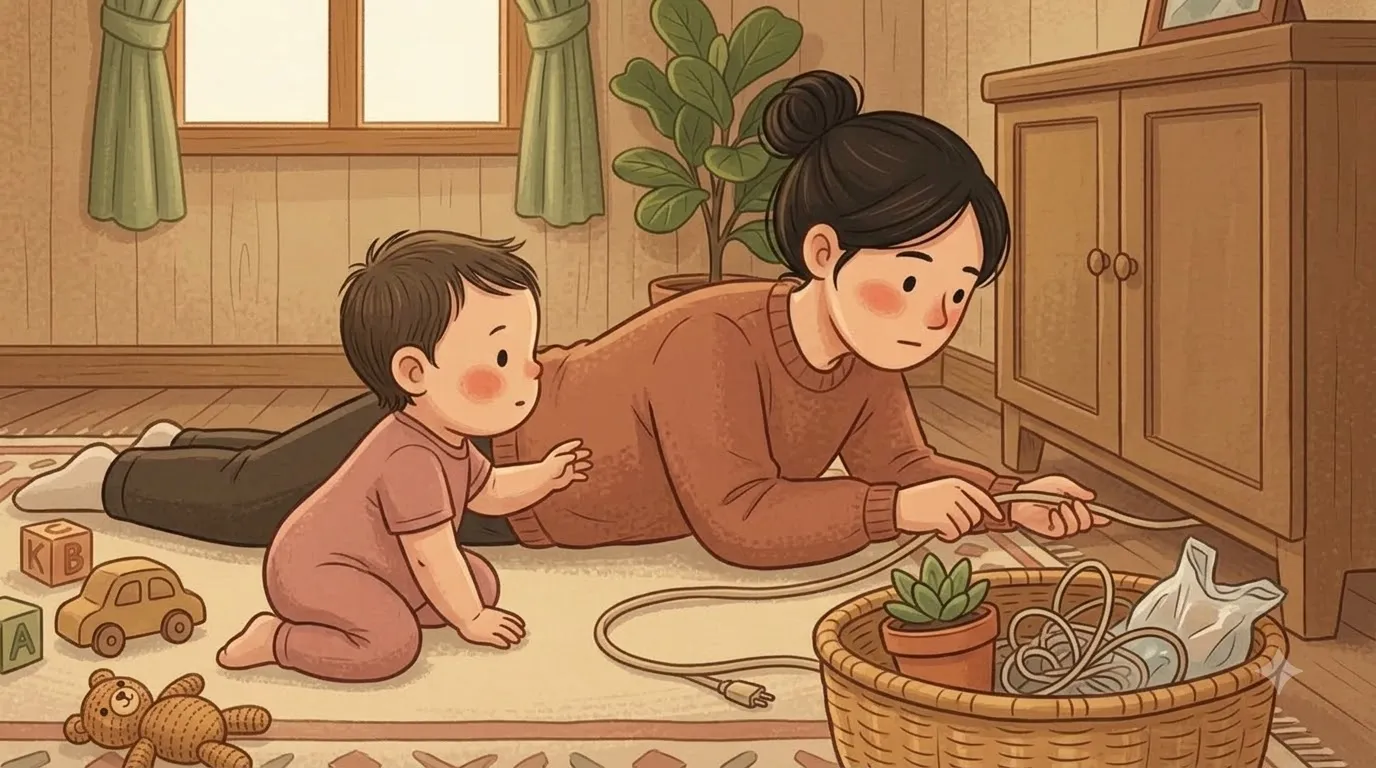
This is the step most people skip, and it’s the one that actually matters.
Kneel down, or better, lie on the floor in the middle of the spot you’ve chosen. Look around from there. You will see things you have genuinely never noticed from standing height: the cable running behind the TV console, the gap under the cabinet with something in it, the sharp underside of the coffee table edge, the loose skirting, the hinge at perfect finger-pinching height.
Then apply one rule to everything you can see: if you’d have to say “don’t touch that,” it doesn’t belong in the space.
Not moved higher. Not warned about. Removed.
The specific checklist for a flat here:
- Power sockets — covered, or the furniture arranged so they’re genuinely inaccessible
- All cables — fan cables, charger cables, lamp cables. Toddlers pull cables, and whatever is attached comes down
- Blind and curtain cords — a strangulation hazard; tie up high or remove entirely
- Any furniture not anchored to the wall — shelves, drawer units and TV consoles tip forward when climbed. Anchor or take out
- Pot plants — soil, leaves, and a heavy pot
- Anything smaller than about 4cm — if it fits through a toilet roll tube, it’s a choking risk
- Plastic bags, cling film, balloons
- Sharp furniture corners — pad them, or choose different furniture
Then add what’s missing: a foam mat or thick rug over the tiles, which matters more here than almost anywhere else.
Do this once, properly, and the space stays safe. Do it halfway and you’ll be supervising constantly, which defeats the entire point.
Step 3: Define the Boundary
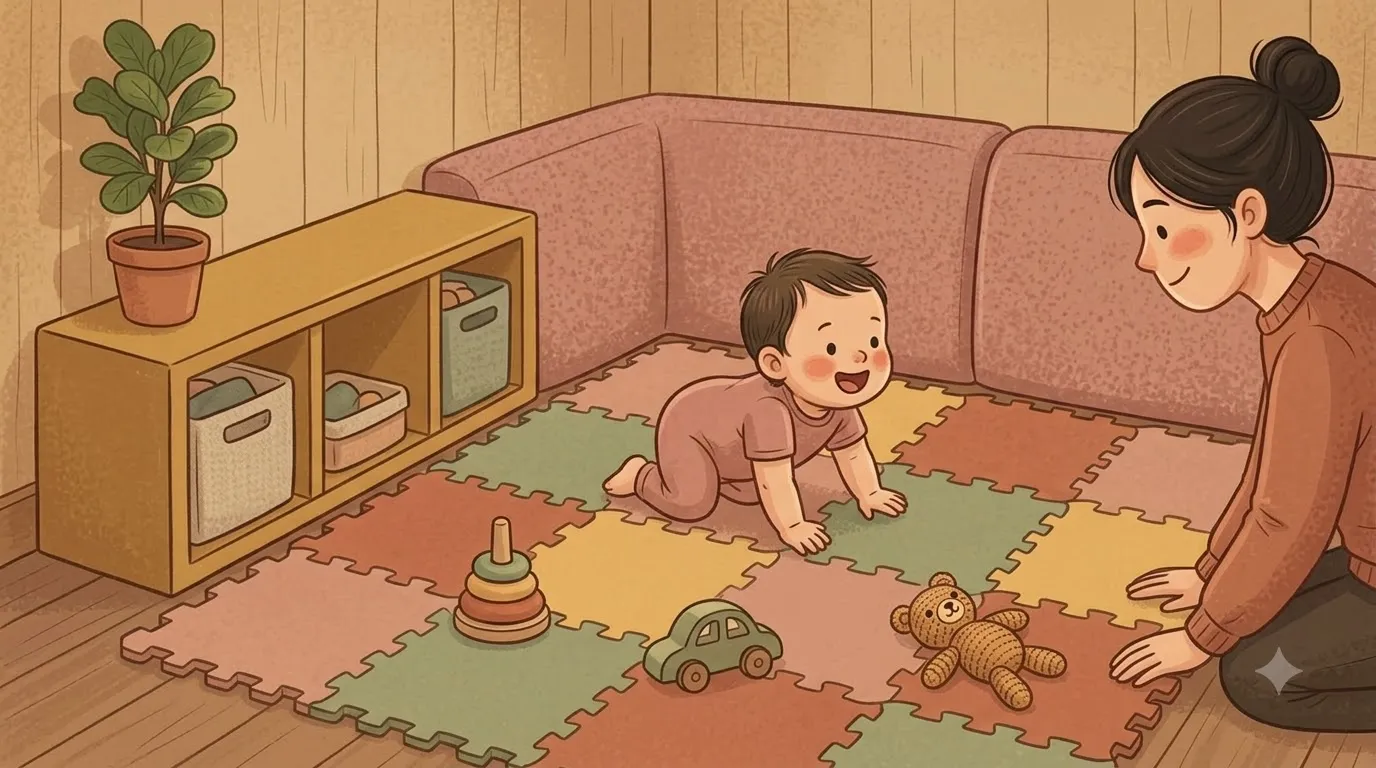
A yes space needs an edge. Not to trap your child, but because an undefined area doesn’t read as “mine” to a toddler — it just reads as more floor.
Options, roughly in order of cost:
- A large foam mat or rug — the cheapest boundary, and often enough on its own for younger toddlers
- Low shelves turned outward — these do double duty as the boundary and the toy storage
- The back of the sofa — rearranging existing furniture into an L shape costs nothing
- A baby gate or playpen panels — necessary if your layout has an open kitchen or a main door nearby
The goal is a space your child can see the edges of, not one they can’t get out of. Many toddlers will wander out and come back repeatedly, and that’s fine. The boundary is for defining, not confining.
Step 4: Put In Less Than You Think
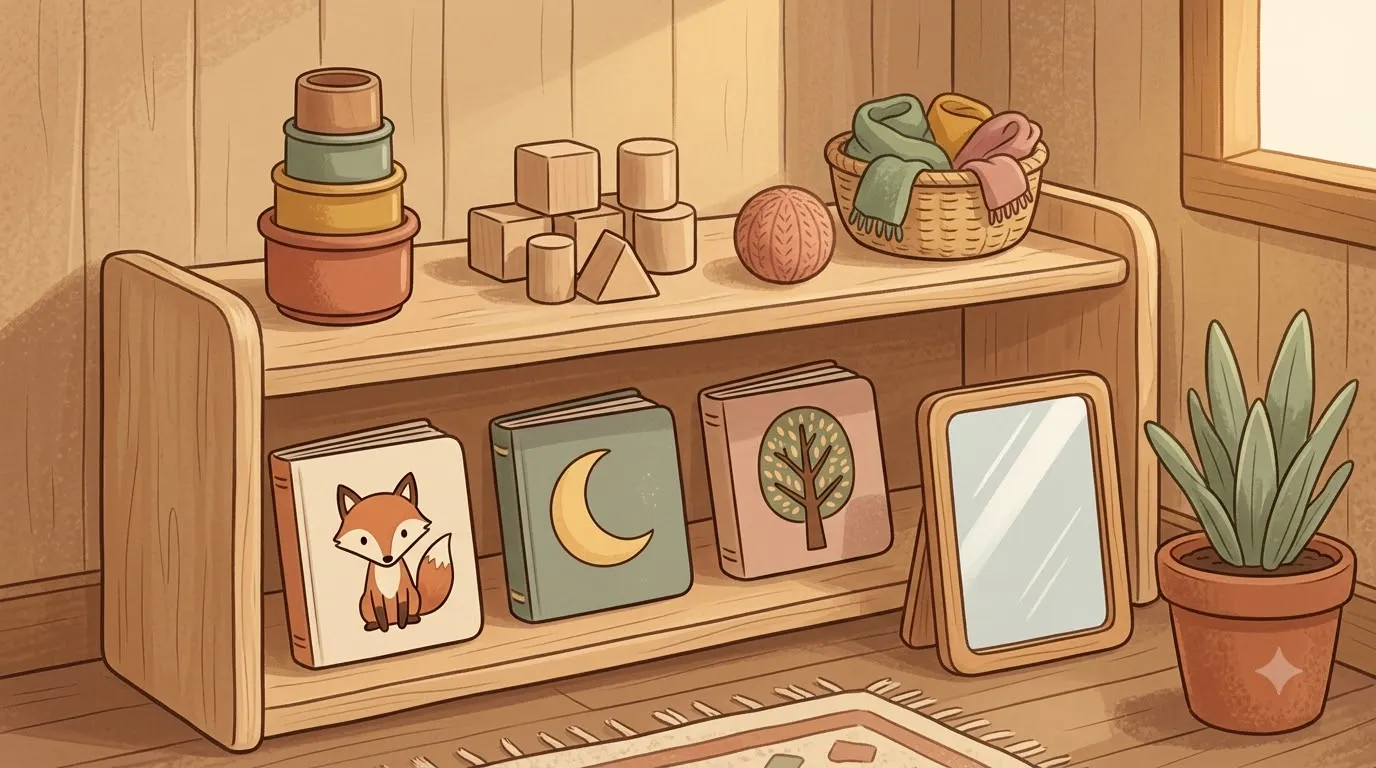
The most common mistake is filling a yes space with everything the child owns. A toddler facing twenty toys doesn’t play with twenty toys. They tip out all of them and settle on none.
Six to eight items is right. Rotate every week or two — put the rest in a box in the storeroom and swap. Rotated toys come back genuinely interesting, which is a better outcome than buying new ones.
What works in the space:
- Open-ended things — blocks, stacking cups, balls, containers with lids, scarves, a basket of safe household objects
- No batteries, no lights, no music. Toys that perform tend to hold attention briefly and then demand an adult to restart them. Toys that do nothing require the child to do something
- A low shelf, not a toy box. Everything visible and reachable. A toy box is where toys go to be forgotten
- A securely mounted mirror at floor level — surprisingly compelling for under-twos
- A few board books, front covers facing out
Step 5: Let Them Be Bored In It
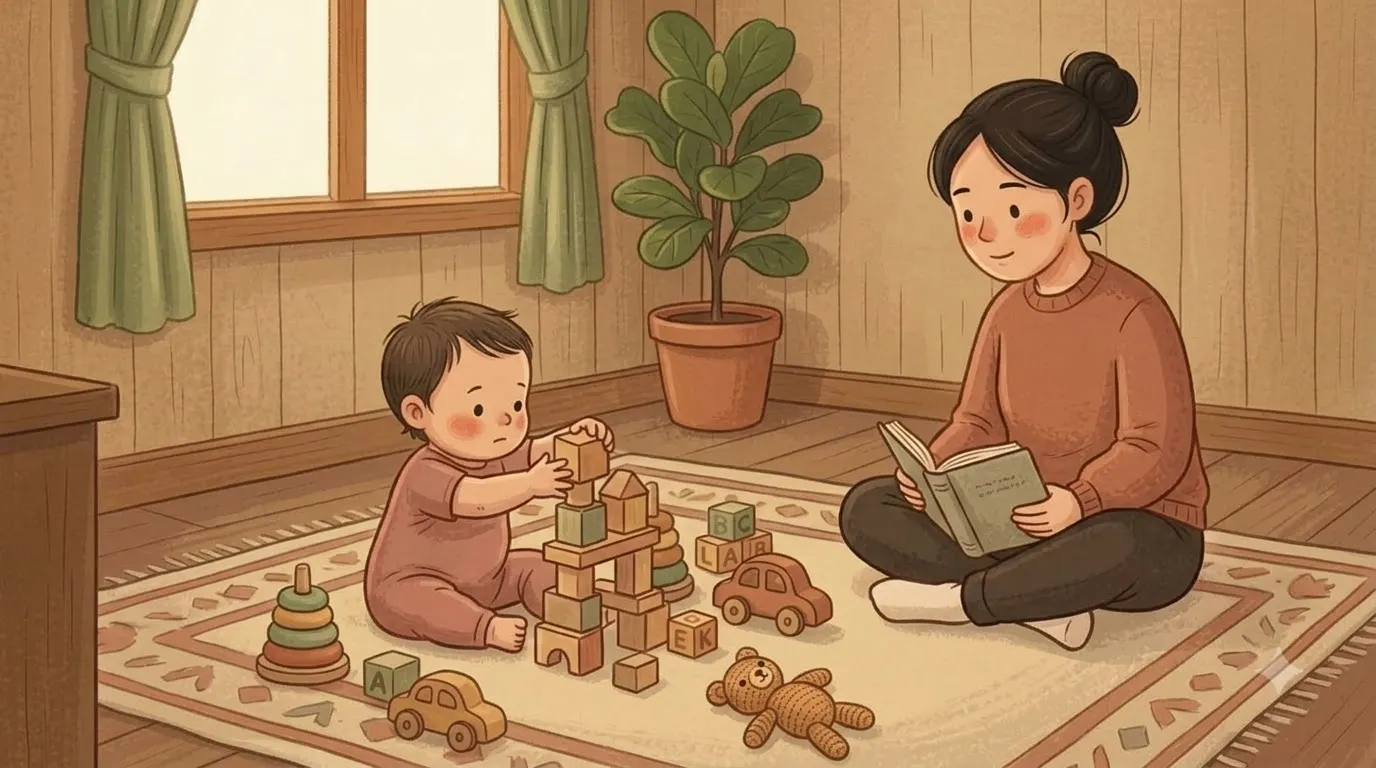
Setting up the space is the easy half. The harder half is leaving them alone in it.
Most parents hover. We sit down nearby and then start narrating, suggesting, demonstrating how the shape sorter works. All of that teaches a child that play is something that happens with an adult running it.
How to actually build the habit:
Start at five minutes. Not an hour. Sit within sight, with your phone down or a book open, and don’t participate unless they bring something to you.
Resist fixing things. When the tower falls or the lid won’t go on, wait. The struggle is the part that’s doing the work. Step in when there’s real frustration, not at the first sign of difficulty.
Expect protest at first, especially if your child is used to constant engagement. A few short, slightly tearful attempts is normal and isn’t a sign the space has failed. Independent play is a skill, and skills take repetition.
Build up gradually. Five minutes becomes ten, then twenty. Most toddlers who get a consistent yes space will eventually manage a decent stretch alone — but it takes weeks, not days.
What a Yes Space Is Not
Worth saying plainly, because these get confused:
It isn’t a time-out spot. The moment the space becomes somewhere a child is sent when they’ve done something wrong, it stops being a yes space. Keep it entirely neutral.
It isn’t unsupervised childcare. Toddler-proofed means you can stop hovering, not that you can leave the flat. You still need to be in earshot and able to see them.
It isn’t a replacement for everything else. Children still need to go outside, still need unstructured time with you, still need to be in the rest of the house. The yes space is one part of a day, not the shape of the whole day.
A Quieter House
A few weeks after we set ours up, I noticed I’d stopped counting the “no”s. Not because my daughter had suddenly become more compliant — she hadn’t, and at that age she shouldn’t have — but because the space had changed around her. There was simply much less to say no about.
That’s the whole mechanism, really. You can spend the toddler years teaching a child to resist every impulse they have in a room full of things they’re not allowed to touch. Or you can build them one corner where every impulse is allowed, and get your mornings back.